
Payment Links (Quick Links)
A guide to the Payment Links (Quick Links) tab in Accept's dashboard.
- An invoice (Quicklink) is a standalone payment tool that helps you to receive payments from your customer without integrating with Accept.
- The Quicklink tab allows you to generate an invoice payment link.
- The invoice payment is valid for only one payment.
Quicklink tab
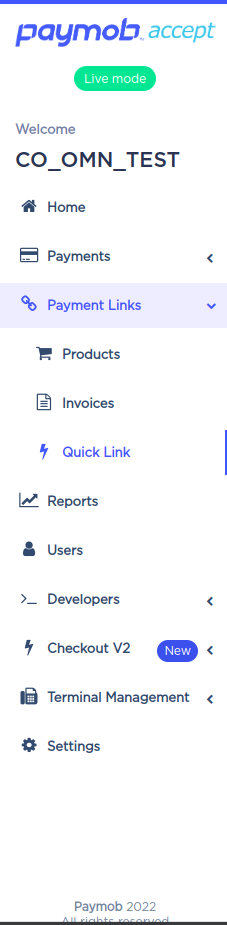
- In your dashboard, click on the "Create" button in the top right corner beside your username. You then can click on "Quicklink" to start creating the invoice.

Accept Dashboard - Invoice Creation.
- You should see a view similar to the one in the image below. This is your invoice interface, from which you can create your invoices with the price and the needed customer details.


Full Name: Your customer's full name.
Phone Number: Your customer contact number.
Email Address: The email address on which your customer will receive a notification after performing his payment.
Reference Id: A field in which you can set your own reference to your orders, which might be a string, or integer or mix of both, Choose what fits your reference convention :wink+:
Remember this field is unique per order, which means that you cannot use the same merchant order ID/Reference Identifier for more than one order.
Description: A field in which you can add a description to your order contents.
Amount: The price of your order.
Currency: The currency that you'll accept your payment with "OMR, USD, etc...".
Key Features :
Option to save preferred payment methods, eliminating the need to select them every time a link is created.
Optional feature to include an image for a product/service.
Optional inclusion of a reference ID and description for the product/service.
Flexibility to create links without expiration dates.
Choice to input customer data during creation or allow customers to input it themselves.
Ability to add merchant branding to links, including business logo, website, Instagram, Facebook, and WhatsApp business number.
All new quick links components are device responsive.
- After filling in all details, you can Click on "Create and share":
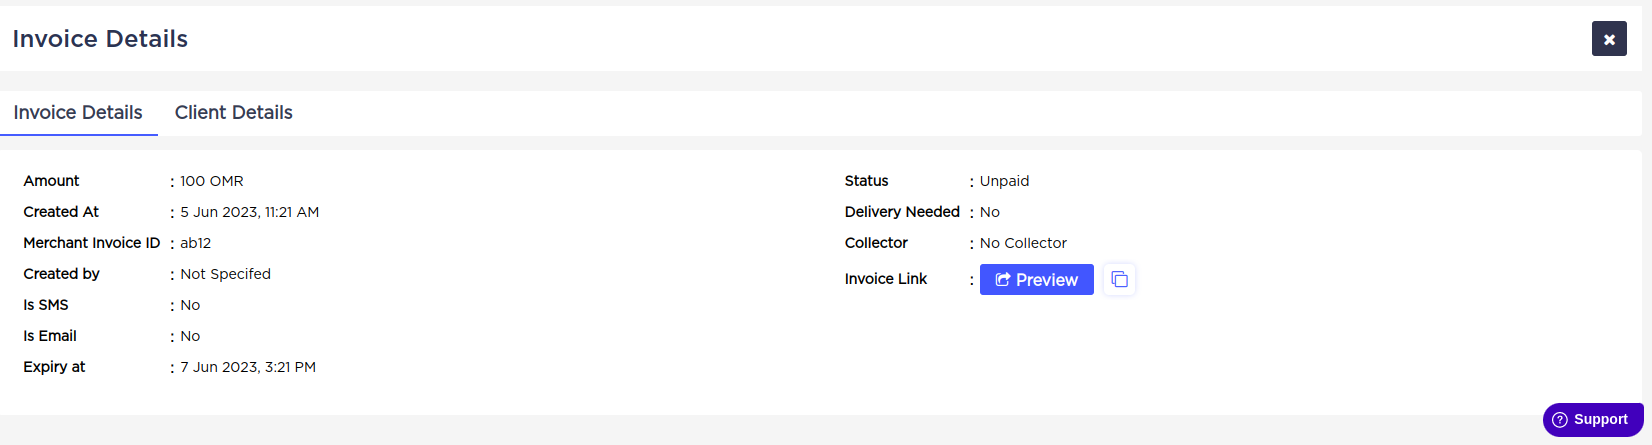
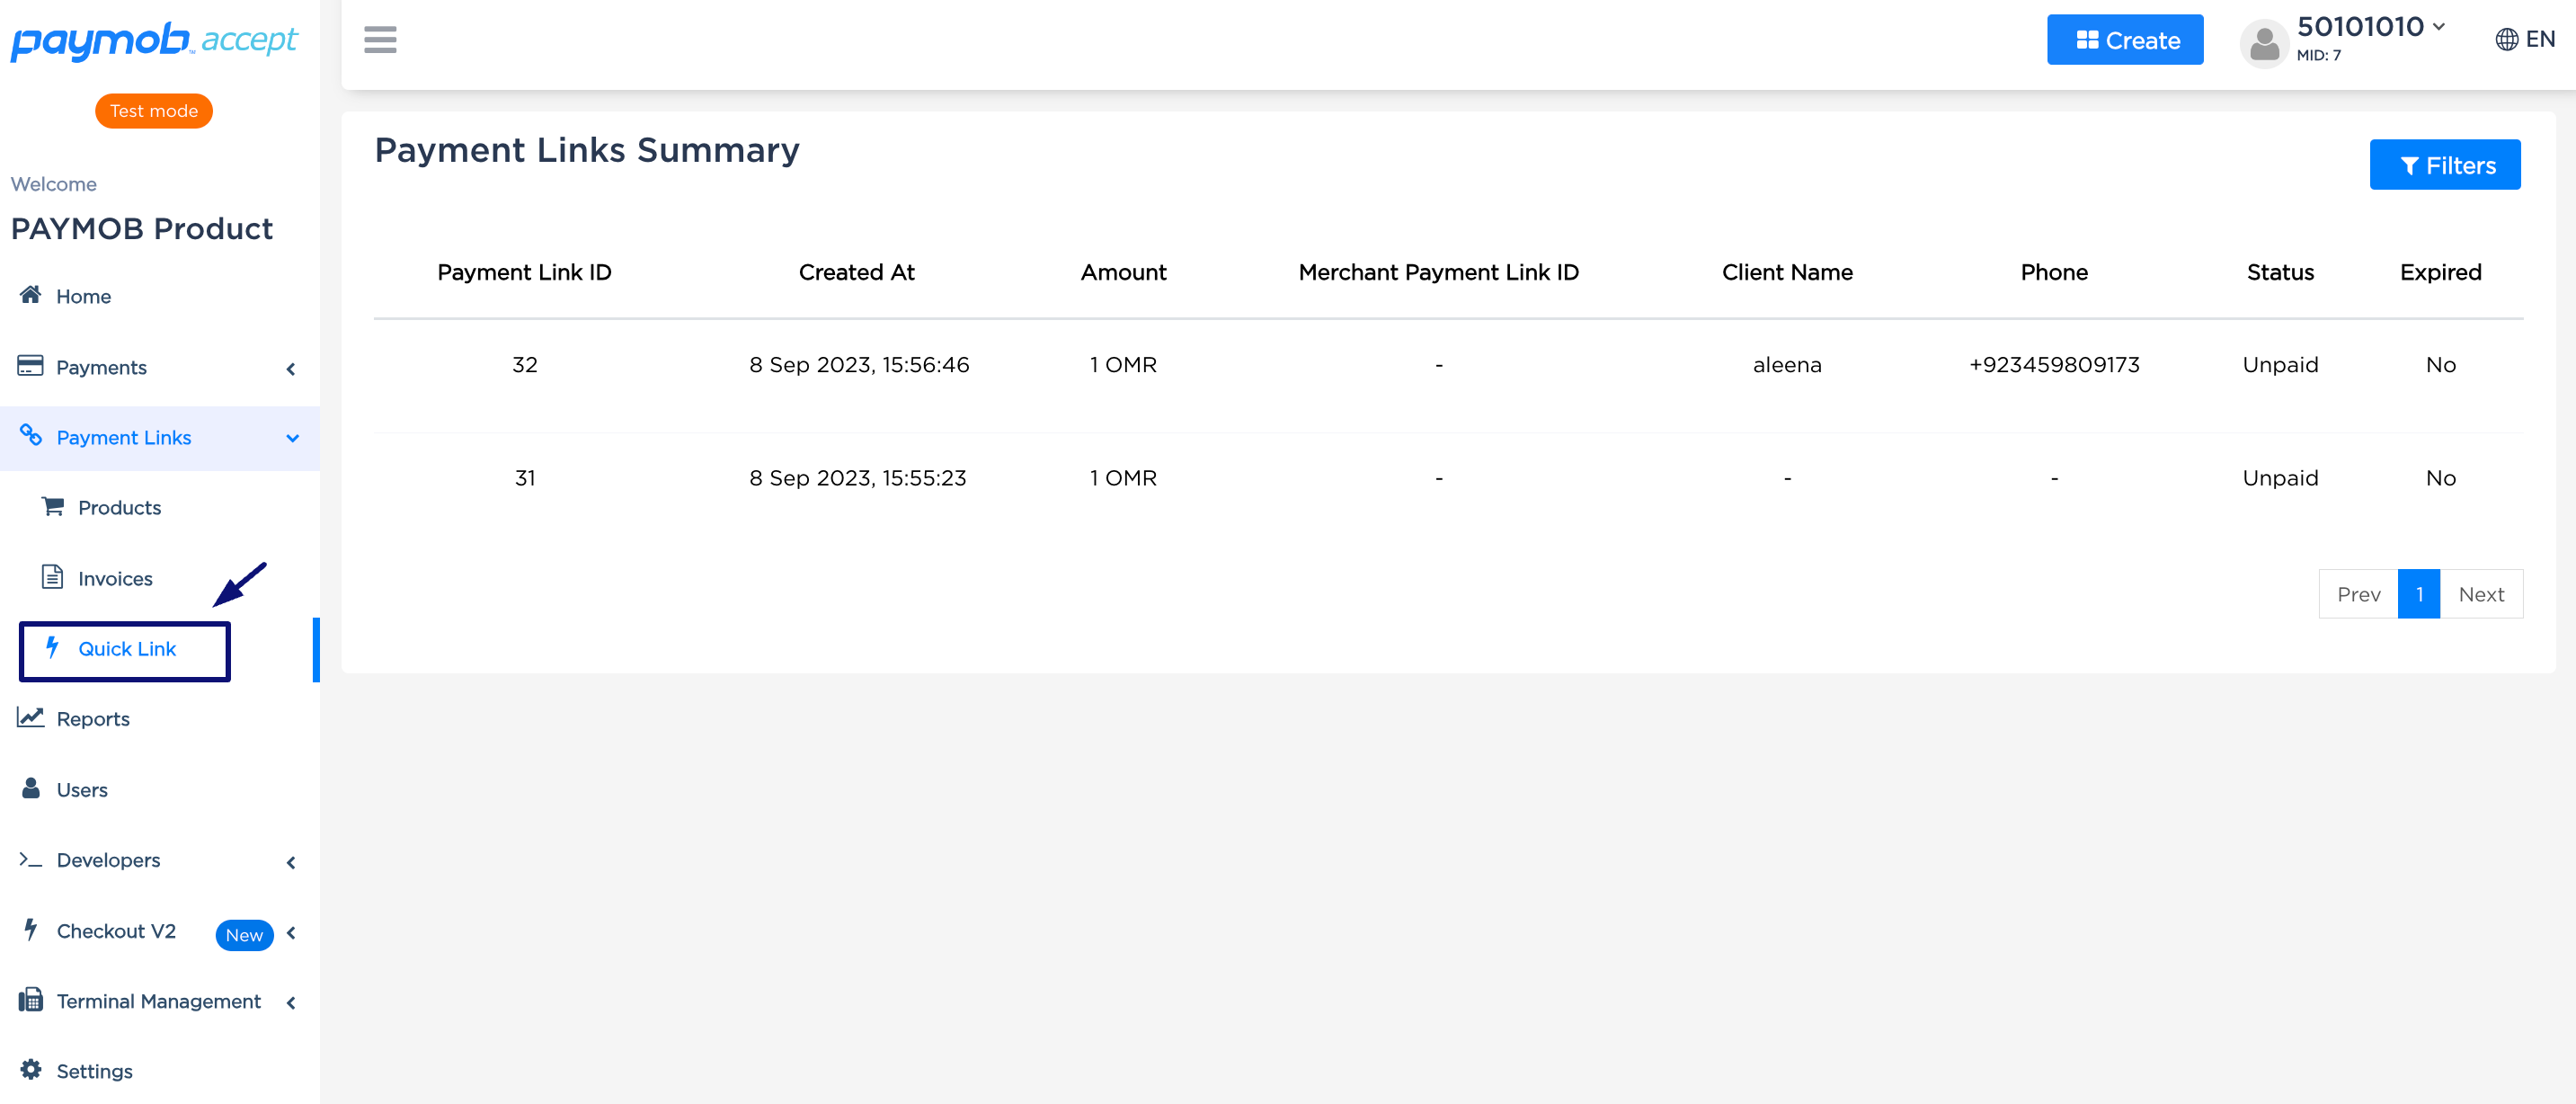
Now your invoice (QuickLink) is ready to be paid for. - After clicking on "Create and share", you will be redirected to your "Payment link Summary" page. You can then click on the invoice itself to view the invoice details.
Accept dashboard - Invoice Summary.
Accept dashboard - Invoice Link.
Now, please share the link found in the Invoice Link field after clicking preview with your customer, this is where he can pay for your order.
- Your customer should be redirected to a page similar to the one below.

Now your customer can choose which payment channel he wishes to perform his payment through.
If you're using a test integration IDs, please use one of these test credentials along with it to test your checkout experience.
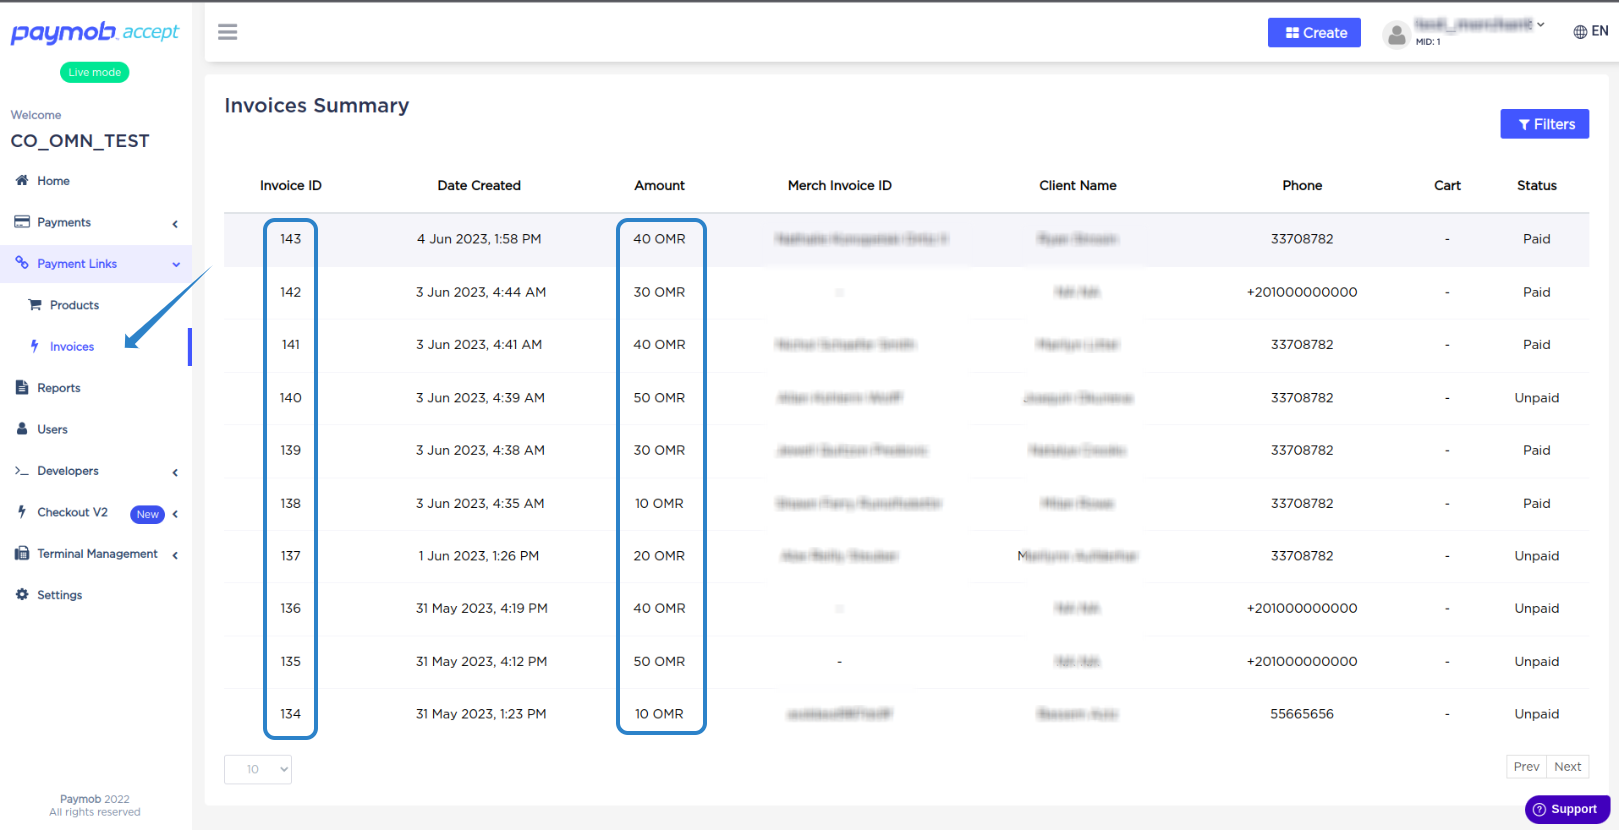
- If you want to check your created Invoices (QuickLinks), click on the Quicklinks tab in your navigation board under the "Payment Links" tab, then click on your order invoice as viewed below.
Accept dashboard - Navigation Board, Orders.
Accept dashboard - Order tab details.
You have just created your invoice successfully 🎉
Now please share the invoice link with your user in order to pay for it.
Updated 10 months ago